Disclaimer
The installation of this kit is a complex procedure and carries potential risk of damaging your car stereo as well as the iPod interface.
The installation requires advanced soldering skills. All necessary measures to prevent electrostatic damage to the sensitive components comprising the kit and the stereo should be taken.
All iPod interface boards manufactured by Unique Design Concepts have passed testing before shipment.
Unique Design Concepts does not assume any responsibility if the kit does not function as anticipated in your car.
It is the responsibility of the person installing the kit to ensure that all steps of the installation process are carried out with utmost care and all necessary precautions are taken to ensure that the car, the stereo, and the iPod interface are not damaged.
Unique Design Concepts does not assume any responsibility and liability for damages and side effects to the car or personal injuries in the process of installing and using the iPod interface kit.
Unique Design Concepts reserves the rights to change the kit and the installation instructions document at any time without prior notification. The document is prepared with every intention to be correct, but it is not guaranteed to be free of errors.
The iPod interface kit is designed to provide seamless integration with the factory stereo. Although it is extensively tested, it is not guaranteed to be bug free.
There might be operational scenarios when the interface would not behave as expected.
Before the car stereo is removed, it is recommended that all CDs are ejected from the CD player.
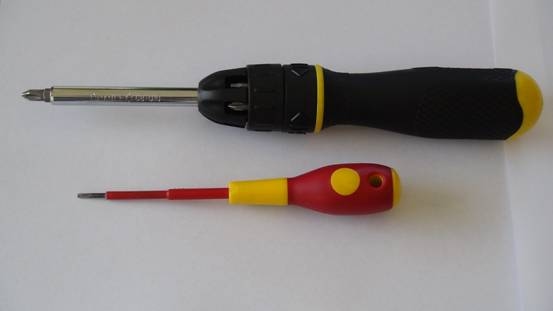
The tools required for removal of the Holden Commodore VE stereo are shown on Figure 1:
- 1x Phillips screwdriver
- 1x small slotted screwdriver.
The stereo removal is done in three steps.
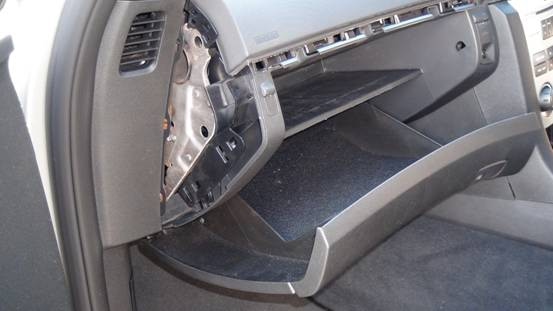
- Disassembling the glove box and disconnecting the stereo antenna.
- Disassembling the stereo right side plastic panel and disconnecting the stereo loom.
- Removing the stereo from the car stereo enclosure.
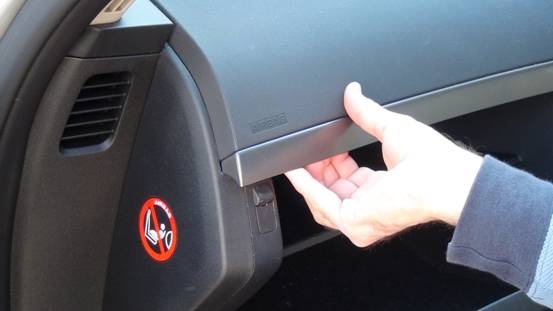
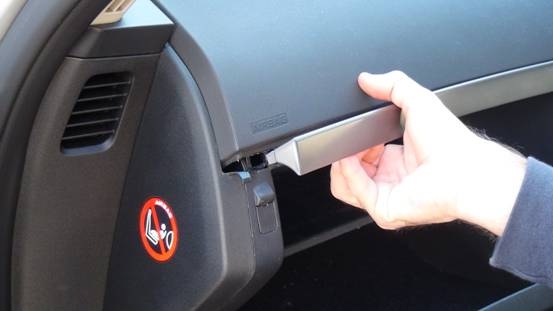
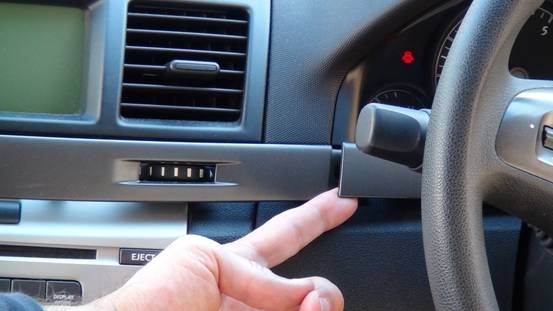
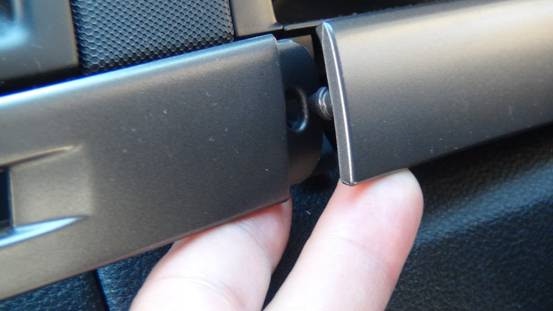
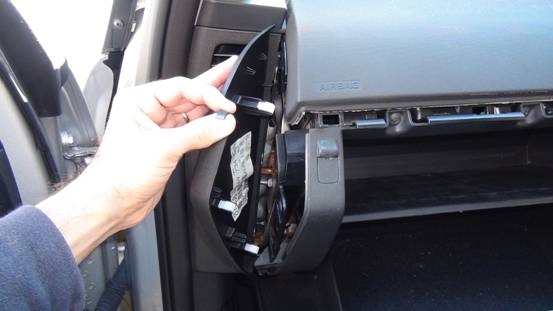
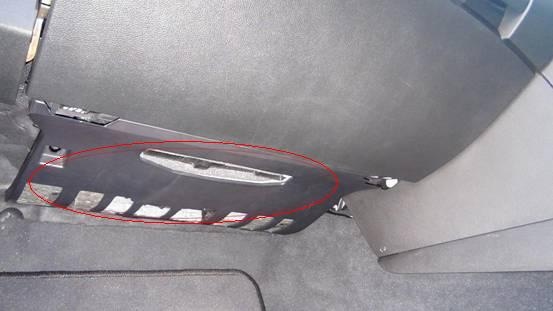
Next, disassemble the left side plastic cover circled in red
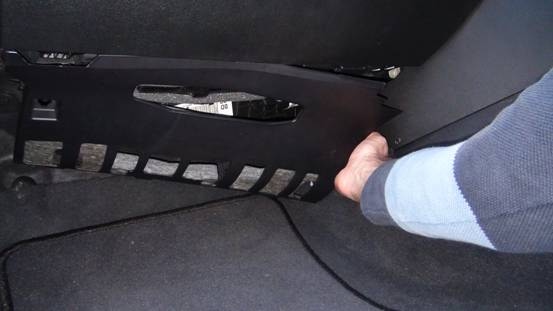
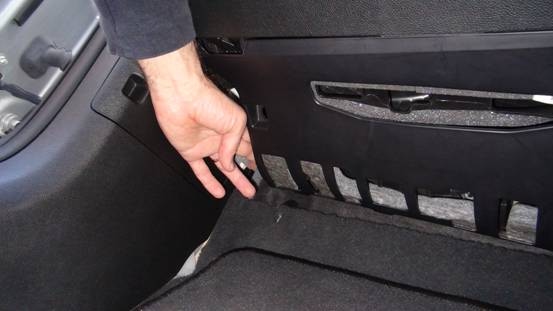
These now show the removal steps of the left side plastic cover.
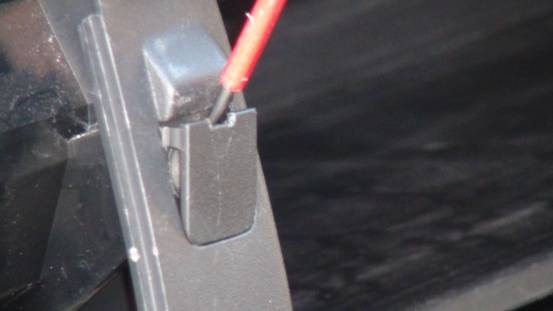
Use a slotted screwdriver as shown.
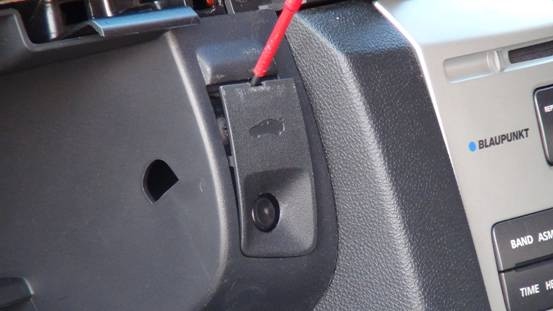

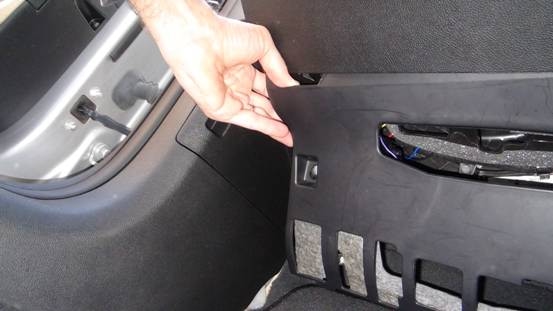
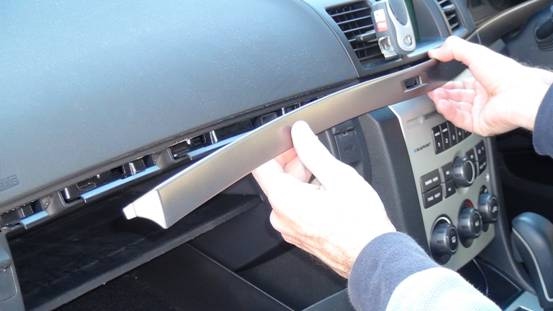
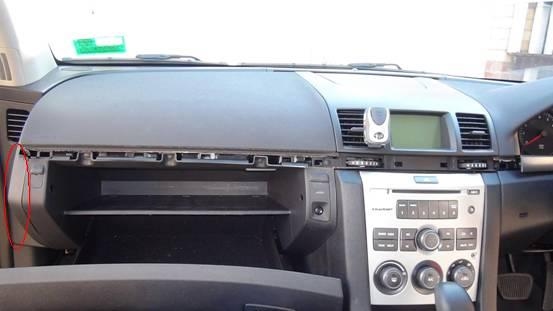
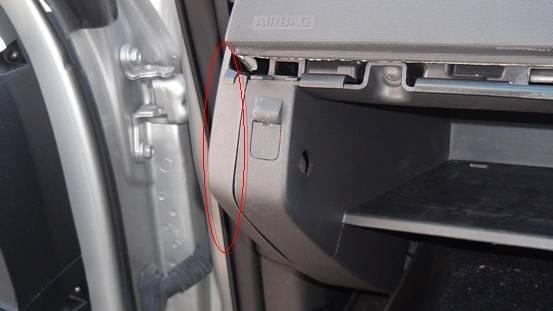
Undo the two glove box screws circled in red. These two screws were covered by the insulation panel removed in the previous step.
